
Why brown butter changes everything
Regular melted butter gives blondies a straightforward richness. Brown butter goes further. When butter heats past its melting point, the milk solids toast and develop compounds that smell and taste like caramel, toffee, and roasted nuts. That transformation costs zero extra dollars and takes under five minutes.
Blondies are already a budget-friendly bake because they skip cocoa powder and chocolate. Swap in brown butter and you get a depth of flavor that feels far more expensive than it is. For more ideas on how pantry basics produce impressive desserts, see turning everyday staples into something sweet.
Keep the browned bits in the bowl
Those dark flecks at the bottom of the pan are toasted milk solids and they carry most of the nutty flavor. Scrape every last bit into your mixing bowl with a spatula. Leaving them behind in the pan wastes the most flavorful part of the process.
What you need before you start
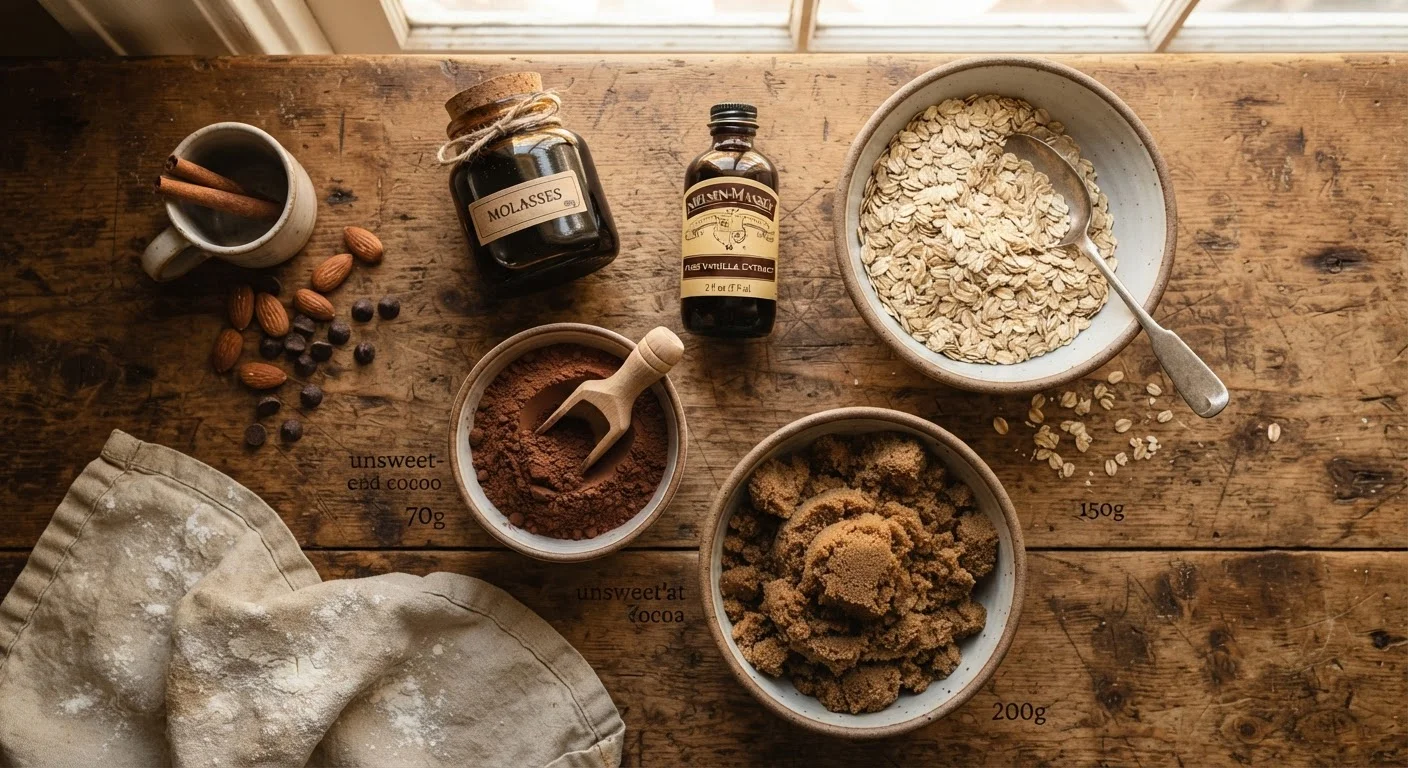
Check your pantry and refrigerator before preheating anything. The ingredient list is short, and most families already have everything on hand.
What you will need
If you want to trim sugar without losing moisture or structure, these tested strategies for baking with less sugar work well with blondies. And if you are curious which cheap pantry staples deliver the most flavor across all your baking, affordable baking ingredients that punch above their weight is worth a read.
Light-colored saucepan
A light interior lets you see the butter color change accurately so you stop cooking at the right moment.
Rubber spatula or wooden spoon
Used to stir the butter continuously and scrape every bit of browned milk solids into the batter.
8x8-inch metal baking pan
Metal conducts heat evenly, producing consistent edges and a properly set center.
Parchment paper
Lines the pan for easy lifting and clean removal without sticking or crumbling.
Whisk
Combines the egg and sugar into a smooth, slightly aerated mixture before adding dry ingredients.
Step-by-step instructions
Follow these steps in order. The brown butter needs to cool slightly before you add the eggs, so timing matters.
Preheat and prep the pan
Heat your oven to 350 degrees F. Line an 8x8-inch baking pan with parchment paper, letting the edges hang over two sides. Those overhangs act as handles when you lift the slab out later. Lightly coat the parchment with cooking spray or a thin wipe of butter.
Brown the butter
Melt the butter in a light-colored saucepan over medium heat. Stir constantly. The butter will foam, then the foam will subside, then small golden-brown specks will appear on the bottom of the pan. Pull the pan from the heat the moment those specks turn a deep amber and the butter smells nutty. Pour it immediately into a mixing bowl to stop the cooking.
Mix the wet ingredients
Let the brown butter cool for 5 minutes. Add the brown sugar and whisk until smooth. Add the whole egg, then the yolk, whisking after each addition. Stir in the vanilla extract. The mixture should look thick, glossy, and slightly lighter in color than the butter was.
Add the dry ingredients
Sprinkle the flour, salt, and baking powder over the wet mixture. Switch to a spatula and fold until no dry streaks remain. Stop as soon as the batter comes together. Overworking develops gluten and produces a tough, bread-like texture instead of a tender crumb.
Bake and check for doneness
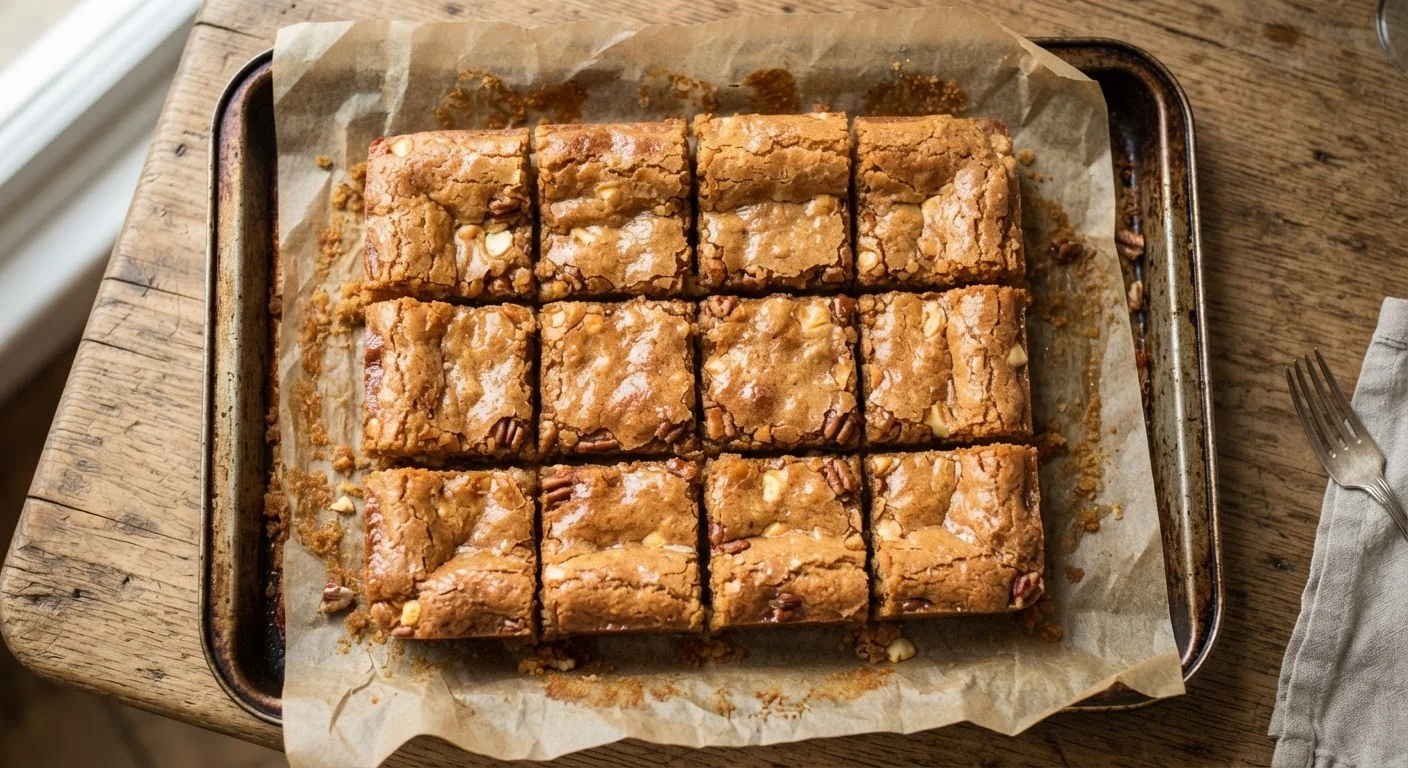
Spread the batter evenly into the prepared pan. Bake for 20 to 25 minutes. The top should look set and matte, with edges just beginning to pull away from the parchment. Insert a toothpick one inch from the edge: it should come out with a few moist crumbs, not wet batter. Cool in the pan for at least 20 minutes before lifting out and slicing.
Cool completely before cutting
Cutting warm blondies causes the edges to crumble and the interior to tear rather than slice cleanly. Wait at least 20 minutes in the pan, then another 10 minutes on a cooling rack before slicing. Patience here protects both texture and presentation.
Troubleshooting and storage
If the center looks underdone when you pull the pan, press lightly with a finger. It should spring back with a slight give. A clean toothpick inserted one inch from the edge (not the center) is a more reliable test than checking the middle, which will always look soft when hot.
Blondies cut cleanly once fully cool. Warm blondies crumble at the edges. Store them in an airtight container at room temperature for up to four days, or freeze individual squares wrapped in plastic for up to two months.
For a comparison of baked versus no-bake treats and when each makes more sense for your time and budget, see no-bake vs. baked desserts. If you need to scale up for a crowd, sheet pan brownies on a budget uses similar ratios and the same one-pan method.