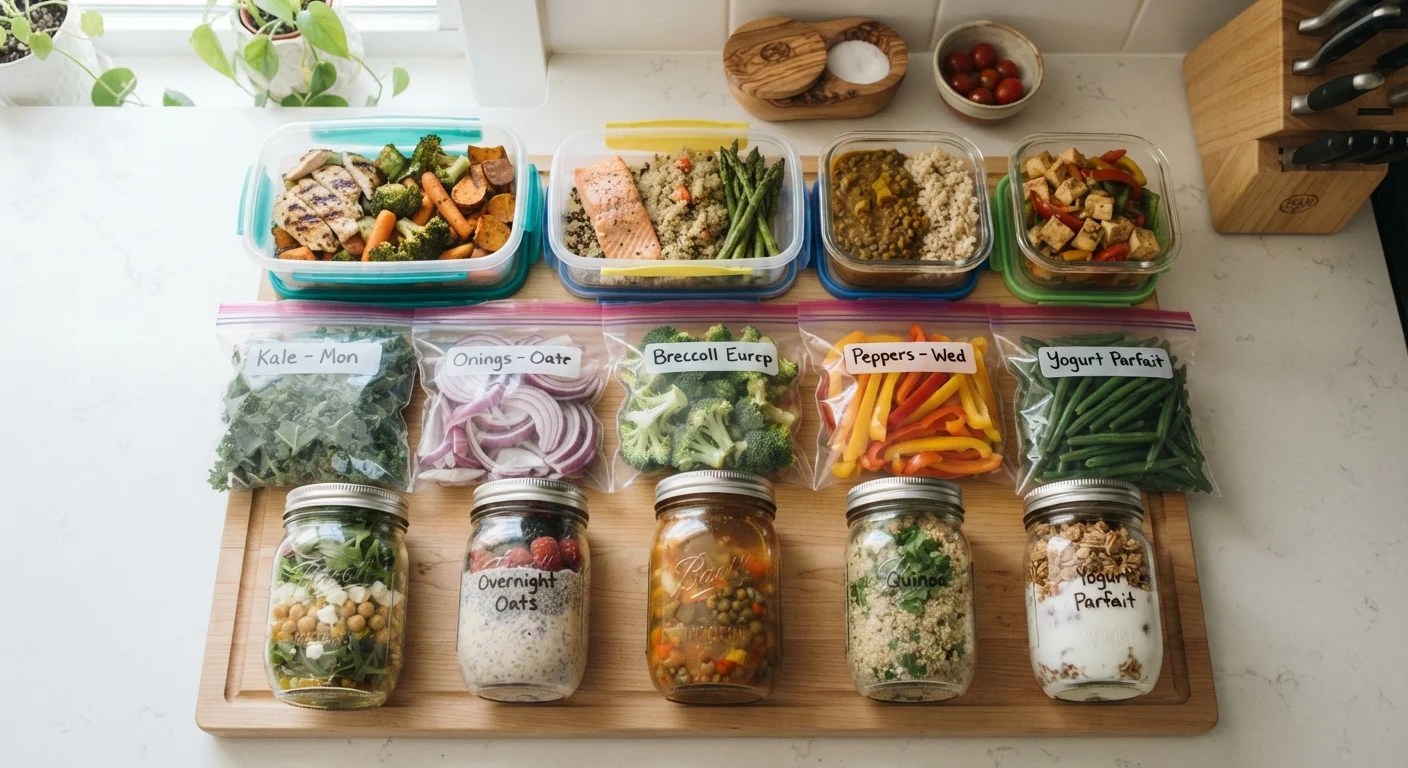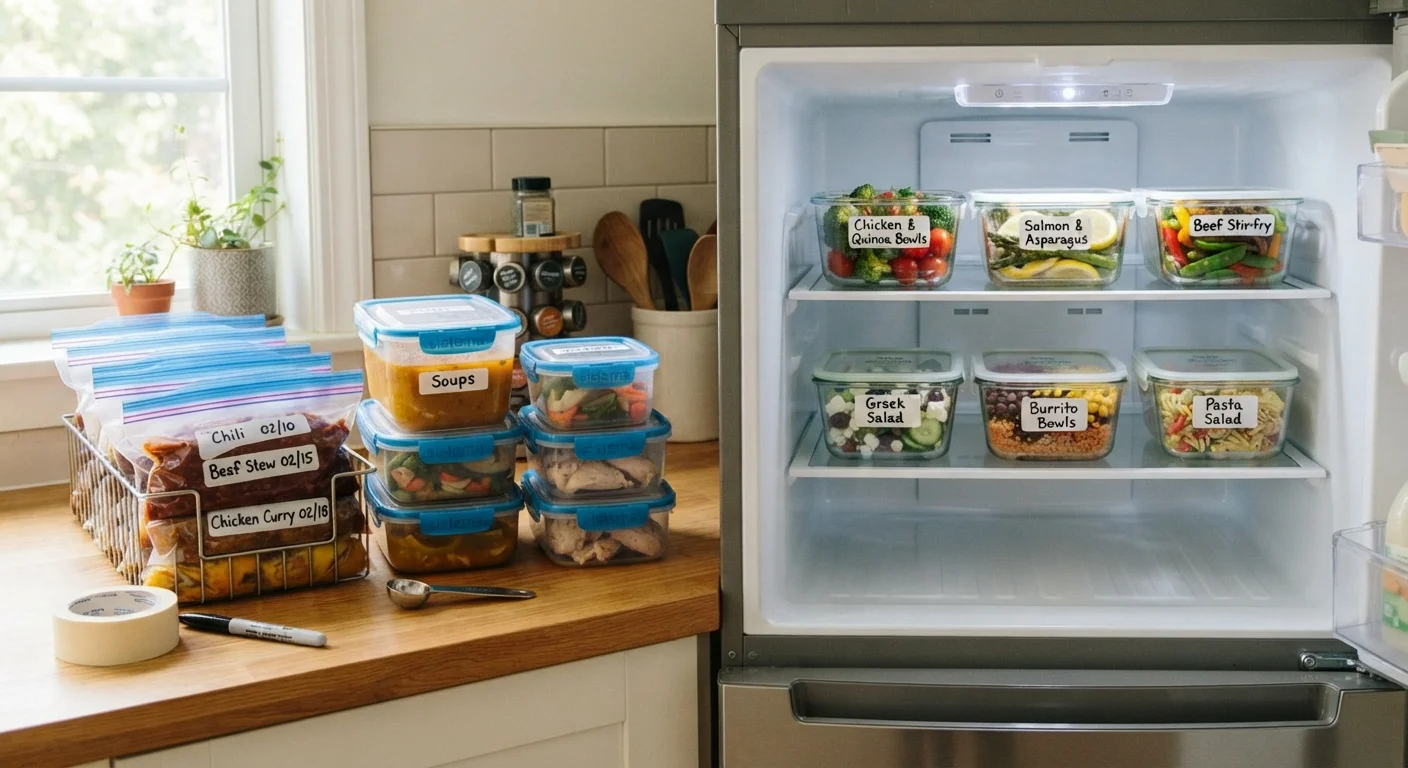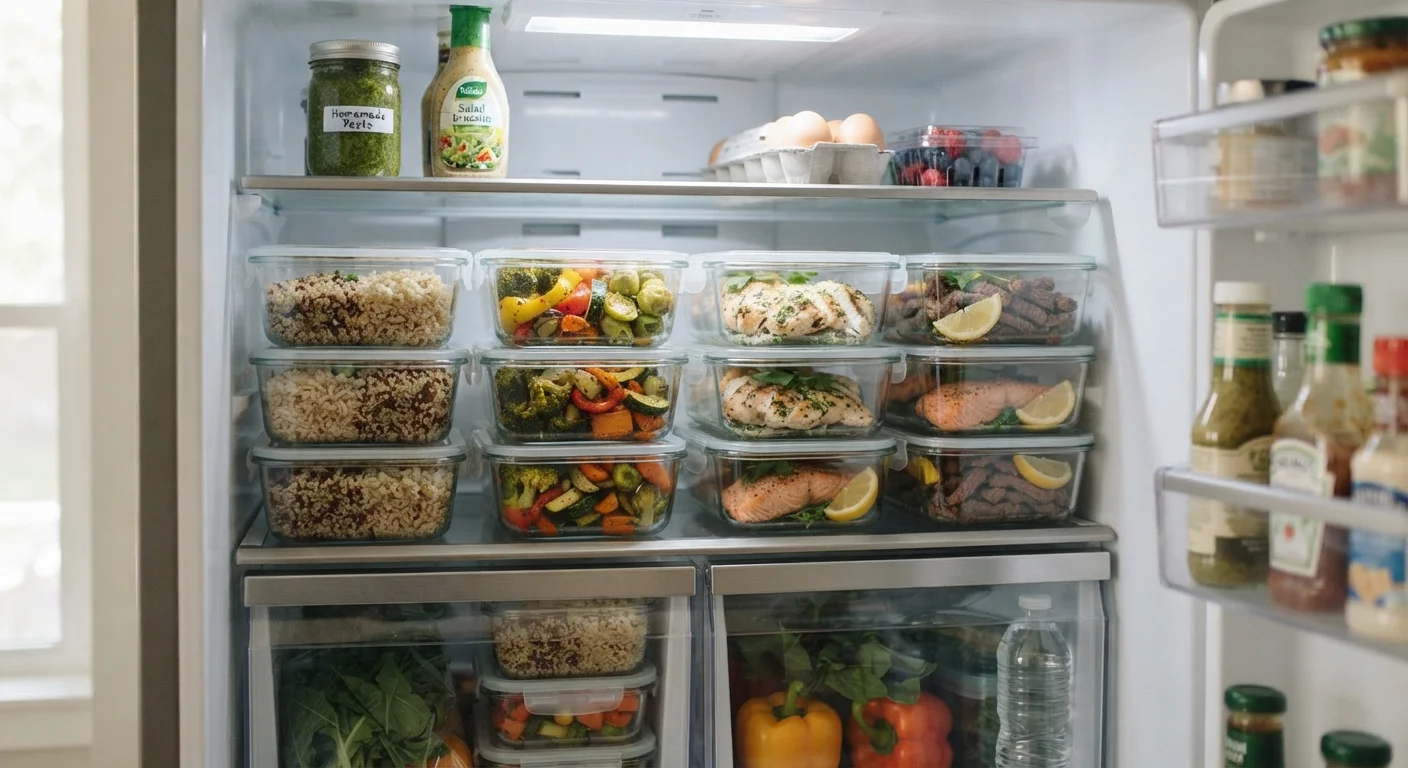

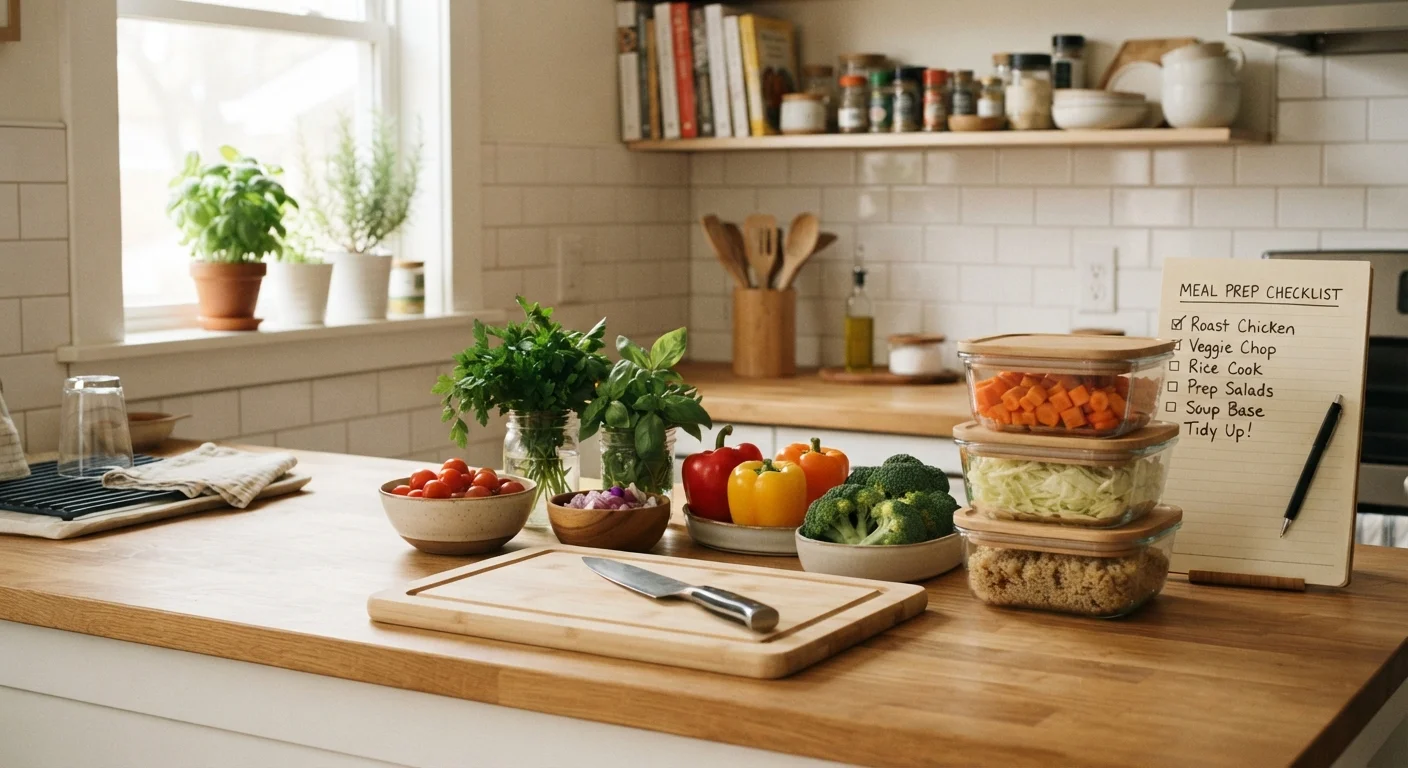
Why a readiness checklist matters before you start
Most first meal prep sessions stall not because cooking is hard, but because something is missing: a lid that does not fit, a pantry short on rice, or no clear plan for what gets made in what order. Working through a readiness checklist the day before your session catches those gaps while there is still time to fix them.
This checklist covers four areas: your kitchen workspace, your equipment, your pantry and fridge, and your session schedule. If you are worried the whole process sounds overwhelming, common meal prep misconceptions are worth reading through first. And if you are still deciding whether to prep for the freezer or the fridge, comparing both storage strategies can help you commit to one approach before prep day arrives.
Tools and supplies you will need
Before running the checklist, gather or confirm you have the following on hand. A missing storage container or dull knife will slow you down more than almost anything else.
Chef's knife
Handles the bulk of chopping, slicing, and dicing across all prep tasks.
Cutting boards (at least two)
One for produce, one for raw meat, to avoid cross-contamination.
Large pot and medium saucepan
Covers grains, soups, and boiled proteins simultaneously.
Sheet pan
Roasts vegetables and proteins in the oven while stovetop items cook.
Airtight storage containers with lids
Keeps finished portions fresh in the fridge or freezer for the week.
Instant-read thermometer
Confirms cooked proteins have reached a safe internal temperature.
Kitchen timer or phone timer app
Tracks multiple dishes cooking at once so nothing overcooks.
Masking tape and marker
Labels containers with contents and date before storing.
The readiness checklist
Work through each group the evening before your session. Items marked "must" are non-negotiable for a safe and functional prep day. "Should" items prevent the most common first-timer frustrations. "Nice to have" items make the session more comfortable but will not stop you from finishing.
Kitchen workspace
Equipment check
Pantry and fridge audit
Storage setup
Schedule and mindset
Once you have completed your storage check, it is worth reading up on which container types work best for different foods so your portions stay fresh through the week.
Do not skip the thaw step
Thawing proteins at room temperature is unsafe and can allow bacteria to multiply in the outer layers before the center defrosts. Always move frozen meat or poultry to the refrigerator the night before prep day. If you forgot, use the cold-water thaw method in a sealed bag, changing the water every 30 minutes, and cook immediately.
Planning your session order
A readiness check is only useful if you also have a rough cooking sequence in mind before you start. Write down every dish you plan to make, then sort them by cook time, longest first. Grains and roasted vegetables can run in the oven or on a back burner while you chop ingredients for a stovetop protein. This overlap is where most of the time savings come from.
If you want a full framework for this kind of session, the Sunday prep method walkthrough goes step by step from recipe selection through portioning. For a more kitchen-technique-focused take, the batch cooking on a Sunday guide covers how to manage multiple dishes at once without losing track of timing. Both are practical companions to this checklist once your prep day is actually underway.